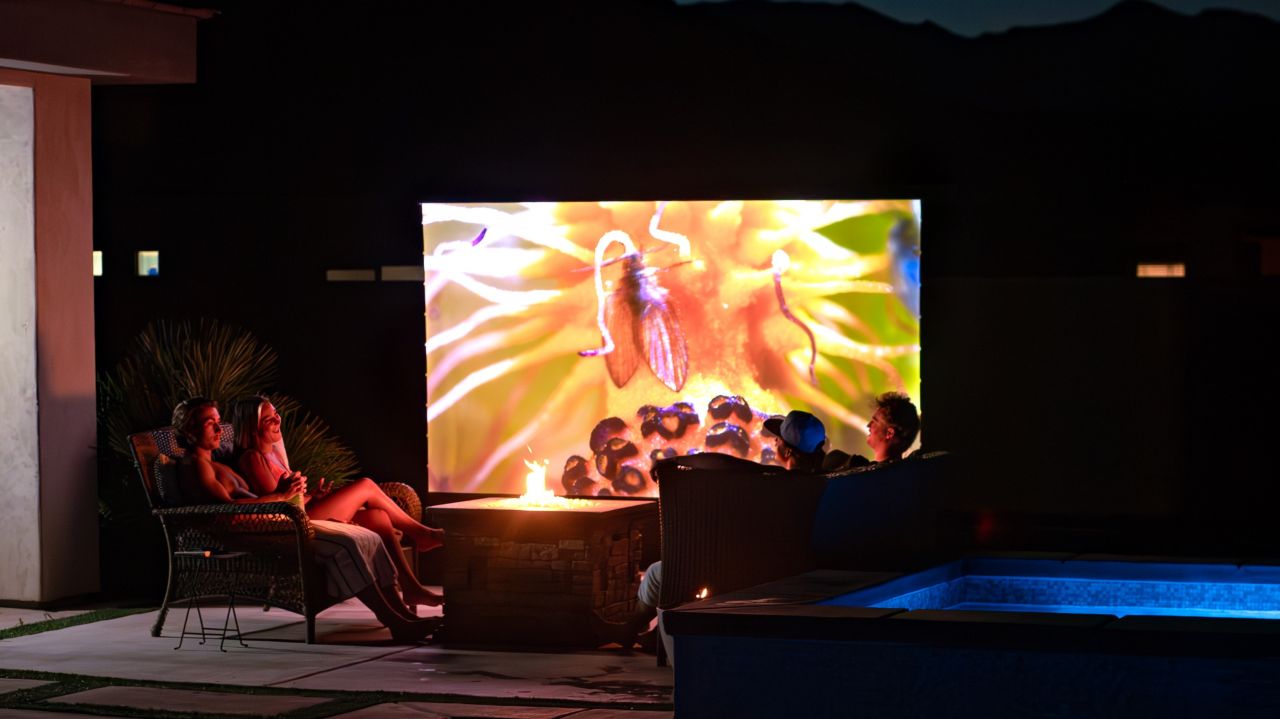
Creating a home cinema can transform your living space into a personal theater, offering a fantastic viewing experience for movies, TV shows, and games. One of the essential elements of this setup is the projector screen. Knowing how to set up your projector screen properly can make all the difference in achieving that perfect picture quality. Here’s a guide to help you through the process.
Choosing the Right Projector Screen
Before diving into the setup, it’s crucial to choose the right projector screen. Consider the following factors:
1. Screen Type
There are several types of projector screens to choose from, including fixed frame, retractable, and portable screens. Fixed frame screens are mounted on the wall and offer a permanent solution with a professional look. Retractable screens can be rolled up when not in use, making them ideal for multi-purpose rooms. Portable screens are great for flexibility and easy storage.
2. Screen Material
The material of the screen affects the image quality. Matte white screens are common and work well in most settings. For rooms with more ambient light, an Ambient Light Rejecting (ALR) screen is recommended as it enhances contrast and maintains picture quality.
3. Screen Size
The size of the screen should match the size of your room and the projector’s throw distance. Measure your available wall space and ensure the screen size will provide an immersive viewing experience without overwhelming the room. For instance, a 120-inch projector screen can offer a theater-like experience in larger rooms.
Preparing the Room for Sect Up Your Projector Screen
Proper room preparation is key to optimizing your home cinema experience:
1. Lighting Control
Controlling ambient light is essential for the best picture quality. Blackout curtains or shades can help eliminate outside light. If complete darkness isn’t possible, consider an ALR screen to combat ambient light.
2. Room Layout
Arrange your seating to provide a direct line of sight to the screen. The ideal viewing distance is typically 1.5 to 2.5 times the diagonal size of the screen. Ensure there is enough space for viewers to sit comfortably without obstructing the projector’s path.
3. Wall Color
Dark-colored walls help reduce reflections and improve image contrast. If painting the entire room isn’t an option, consider adding dark curtains or drapes around the screen area.
Setting Up the Projector Screen
Once you’ve chosen the right screen and prepared the room, it’s time to set up the screen:
1. Mounting the Screen
Follow the manufacturer’s instructions for mounting the screen. For fixed frame screens, use a level to ensure it’s perfectly straight. Retractable screens often come with brackets for easy wall or ceiling mounting. Ensure the screen is secure and stable.
2. Positioning the Projector
Position the projector at the correct distance from the screen, according to the projector’s throw ratio. The throw ratio is the relationship between the projector’s distance from the screen and the width of the image. For example, a projector with a throw ratio of 1.5:1 needs to be 1.5 feet away from the screen for every foot of image width.
3. Adjusting the Image
Turn on the projector and adjust the image size and focus. Use the projector’s zoom and focus controls to fit the image to the screen perfectly. Most projectors have keystone correction to adjust the image shape if the projector isn’t perfectly aligned with the screen. However, for the best quality, try to position the projector so keystone correction isn’t necessary.
Fine-Tuning for Optimal Performance
After setting up the screen and projector, fine-tuning ensures the best possible viewing experience:
1. Calibrating the Projector
Most projectors have built-in calibration tools. Adjust the brightness, contrast, and color settings to match the room’s lighting conditions. If you have a dolby vision projector, take advantage of its enhanced color and brightness capabilities to get the best viewing experience. You can also use a calibration disc or professional calibration services for precise adjustments.
2. Sound System Integration
A great picture deserves great sound. Position your speakers around the room for an immersive audio experience. If you’re using a soundbar, place it directly below or above the screen. For surround sound systems, position the speakers according to the manufacturer’s guidelines to ensure balanced audio coverage.
3. Regular Maintenance
Keep the projector and screen clean to maintain image quality. Dust the projector lens and screen regularly and check for any loose mounting brackets or connections.
Conclusion
Setting up a projector screen for the perfect home cinema experience involves careful planning and attention to detail. Start by choosing the right screen type, material, and size for your room. Prepare the room by controlling lighting and arranging seating optimally. Follow the steps for mounting the screen and positioning the projector correctly. Finally, fine-tune the setup by calibrating the projector and integrating a sound system.
By following these steps, you can create an impressive home cinema that offers a fantastic viewing experience for you and your guests. Enjoy your movies, shows, and games like never before with the perfect projector screen setup.

